Understanding LED Strip Light Remote Controls
LED strip lights offer a convenient way to illuminate spaces.
The real magic lies in the tiny remote that controls them.
Remotes provide an easy way to adjust brightness and color.
They allow for effortless customization, enhancing the lighting experience.
Controlling your lighting environment is now easier than ever.
Types of LED Strip Light Remotes
LED strip light remotes come in various types, each designed with specific functionalities.
The most common type is the IR (Infrared) remote, which requires a direct line of sight to the
LED strip controller. These remotes are usually included with basic LED strip kits and offer simple
control over color, brightness, and modes.
RF (Radio Frequency) remotes, on the other hand, do not require a direct line of sight.
They can control LED strips from a greater distance and even through walls.
This makes them more versatile than IR remotes.
Another type is the WiFi-enabled remote, which allows control via a smartphone app.
These smart remotes offer advanced features like timers, custom color mixing, and voice control
through assistants like Alexa or Google Assistant.
Some remotes are designed for specific types of LED strips, such as RGB, RGBW, or single-color strips.
The Multi-Zone Programmable RGB ColorPlus LED Touch Controller is a simple and easy way to customize.

Basic Operations
LED strip light remotes simplify lighting control with basic functions.
These include powering the lights on/off.
Adjusting the brightness and changing colors (RGB strips).
These operations are fundamental to customizing the lighting ambiance.
Powering On/Off
The most fundamental operation is controlling the power.
This is typically achieved via a dedicated button on the remote.
Look for a button often marked with a power symbol.
Alternatively, it might have “ON” and “OFF” labels for clarity.
Pressing this button toggles the LED strip lights between the on and off states.
Ensure the remote has a clear line of sight to the receiver for optimal operation.
If the lights don’t respond, check the batteries in the remote.
Also, make sure the LED strip is properly connected to a power source.
Some remotes might have a master power switch affecting all connected lights.
Confirm that the power supply is functioning correctly.
This ensures the LED strip receives adequate power.
If issues persist, consult the manufacturer’s instructions for troubleshooting.
Sometimes, a simple reset of both the remote and the controller is effective.
Unplug the power source, wait a few seconds, and then plug it back in.
After that, try using the power button on the remote again;
This basic step often resolves many common power-related problems.
Adjusting Brightness
Adjusting the brightness of your LED strip lights is a key feature.
This allows you to customize the ambiance.
Most remotes include dedicated buttons for increasing and decreasing brightness.
These buttons are often marked with “+” and “-” symbols.
Pressing the “+” button increases the light intensity.
Conversely, pressing the “-” button decreases the brightness.
Some remotes feature a single button that cycles through various brightness levels.
Others may incorporate a slider or a wheel for finer control.
Experiment with these controls to achieve your desired level of illumination.
Note that some LED strips have limited brightness adjustment ranges.
If the lights don’t respond, ensure the remote is properly paired.
Also, check that the batteries are functioning.
For optimal performance, maintain a clear line of sight.
If issues persist, consult the user manual for troubleshooting.
Modern remotes may offer advanced brightness settings.
These include preset modes for different activities or times of day.
Adjusting the brightness can significantly enhance the mood.
It can also improve the overall energy efficiency of your lighting setup.
Always refer to the manufacturer’s guidelines for best results.
Changing Colors (RGB Strips)
Changing colors on RGB LED strips unlocks a world of creative lighting.
Most remotes for RGB strips feature a color wheel or a set of color buttons.
These allow you to select from a wide spectrum of hues.
Pressing a specific color button instantly changes the LED strip.
The color wheel provides a more nuanced approach.
You can slide your finger around the wheel to select the desired color.
Some remotes also include buttons for preset colors.
These are often labeled with names like “Red,” “Green,” and “Blue.”
Advanced remotes may offer custom color mixing.
This allows you to adjust the intensity of red, green, and blue channels.
Experiment with different combinations to create unique colors.
The remote may include dedicated buttons for each channel.
You can also adjust the levels using a slider or a numerical input.
Remember that the perceived color can vary based on the strip’s quality.
It can also vary based on ambient lighting.
If you’re not satisfied with the color accuracy, consider adjusting the white balance.
Some remotes offer a white balance setting.
This allows you to fine-tune the color temperature.
Always consult the user manual for detailed instructions.
Proper color control can transform any space, creating the perfect ambiance.
Advanced Features
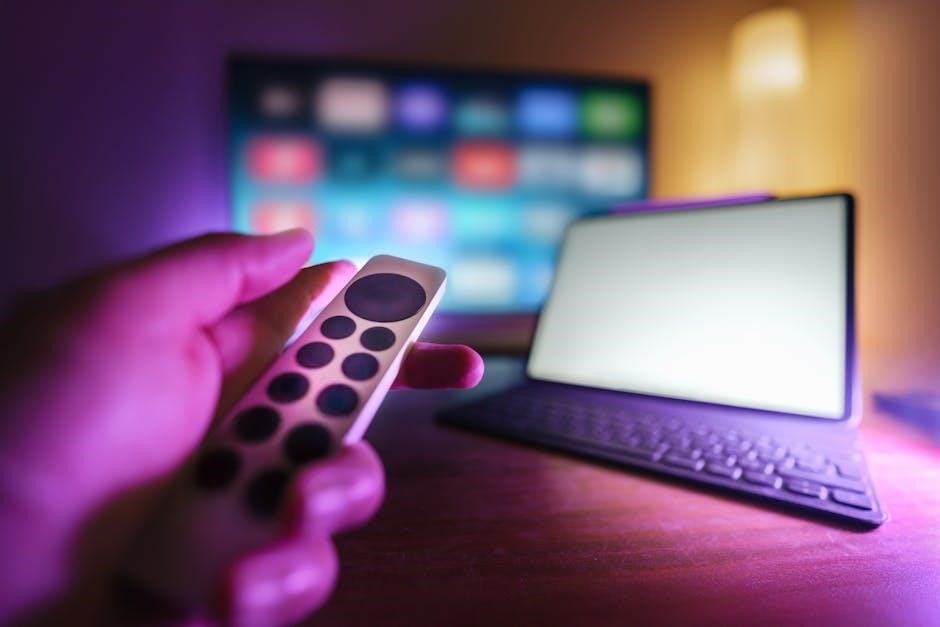
LED strip remotes often include advanced features.
These features enhance your lighting control.
Explore mode selection for dynamic effects.
Experiment with custom color mixing for unique ambiances.
These advanced controls offer ultimate customization.
Unlock the full potential of your LED strips.
Mode Selection (Flash, Strobe, Fade, Smooth)
LED strip light remotes often feature several dynamic lighting modes.
These modes include flash, strobe, fade, and smooth transitions.
Flash mode rapidly switches the lights on and off.
Strobe mode creates a pulsating effect, similar to a disco light.
Fade mode gradually transitions between colors, offering a calming effect.
Smooth mode cycles through colors with gentle, seamless changes.
Experiment with these modes to create different atmospheres.
Flash and strobe modes are ideal for parties and events.
Fade and smooth modes are perfect for relaxation and ambiance.
The remote control typically has dedicated buttons for each mode.
Press the corresponding button to activate the desired mode.
Some remotes allow you to adjust the speed of these effects.
Increase the speed for a more energetic vibe.
Decrease the speed for a more subtle effect.
Refer to your remote’s manual for specific instructions.
Understanding these modes enhances your control;
Mode selection provides versatility for any setting.
Create the perfect mood with ease.
Enjoy the dynamic capabilities of your LED strip lights.
These modes elevate your lighting experience.
They make your lights more interactive and engaging.
Custom Color Mixing
LED strip light remotes often provide custom color mixing capabilities.
This feature allows you to create unique and personalized colors.
Typically, remotes with custom color mixing have RGB controls.
RGB stands for Red, Green, and Blue, the primary colors of light.
By adjusting the intensity of each color, you can achieve a wide spectrum of hues.
Some remotes have dedicated buttons for increasing or decreasing each color’s intensity.
Others may use a color wheel or touchpad for more precise control.
Experiment with different combinations to find your favorite colors.
Mix red and green to create yellow or brown tones.
Combine red and blue to produce purple or magenta shades.
Blend green and blue for cyan or teal hues.
Adjust the brightness to create lighter or darker versions of each color.
Some remotes allow you to save custom color presets.
This feature enables you to easily recall your favorite settings.
Refer to your remote’s manual for specific instructions on custom color mixing.
Understanding RGB color theory can enhance your results.
The possibilities are endless with custom color mixing.
Express your creativity and personalize your lighting;
Create the perfect ambiance for any occasion.
Enjoy the versatility and flexibility of your LED strip lights.
Troubleshooting
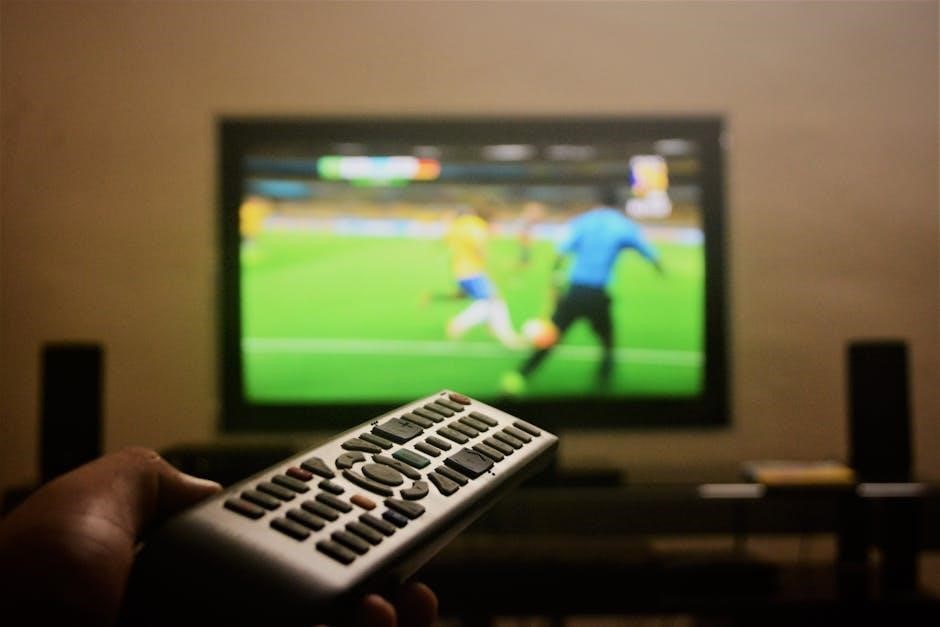
When your LED strip remote isn’t working, don’t panic!
Common issues include dead batteries or pairing problems.
Ensure the remote has fresh batteries.
Try re-syncing the remote to the LED strip.
Consult the manual for specific troubleshooting steps.
Remote Not Working
If your LED strip light remote suddenly stops functioning, several factors could be at play.
Start by checking the most obvious: the batteries.
Ensure they are properly inserted and have sufficient charge.
If replacing the batteries doesn’t solve the issue, examine the remote for any physical damage.
Sometimes, a drop or impact can dislodge internal components.
Next, verify that there’s a clear line of sight between the remote and the LED strip’s receiver.
Obstructions can interfere with the signal.
Also, other electronic devices nearby might be causing interference.
Try moving the remote closer to the receiver or relocating potential sources of interference.
If you’re using a smart LED strip, check your Wi-Fi connection, as connectivity issues can sometimes manifest as remote control problems.
If the remote still refuses to cooperate, consult the manufacturer’s instructions for troubleshooting steps specific to your model.
In some cases, a reset or a pairing procedure may be necessary to re-establish communication between the remote and the LED strip.
Sometimes the receiver is faulty or damaged, and that’s why it’s not working, and in that case, it is necessary to replace it.
Pairing/Syncing Remote to LED Strip
Pairing your remote to an LED strip is a straightforward process.
First, ensure that your LED strip is properly connected to a power source and turned on.
Locate the receiver, a small component that connects the LED strip to the power supply.
Typically, there’s a sync button on the receiver.
Press and hold the sync button for a few seconds.
While holding the sync button, point your remote directly at the receiver and press the power button or any other designated pairing button on the remote.
Release both buttons and wait for a few moments.
The LED strip should flash or change color to indicate successful pairing.
If the LED strip doesn’t respond, repeat the process, ensuring that you’re within close range of the receiver and that there are no obstructions.
Consult your LED strip’s manual for specific instructions, as the pairing procedure may vary depending on the model.
Some remotes require a specific code or sequence to be entered during the pairing process.
After successful pairing, test all the remote’s functions to ensure that it’s controlling the LED strip correctly.
In case of persistent issues, try replacing the batteries in the remote or resetting the LED strip to its factory settings before attempting the pairing process again.
Safety Precautions
When working with LED strip lights and their remotes, safety should always be a priority.
Before installation or any adjustments, disconnect the power supply to prevent electrical shock.
Read all instructions that accompany the LED strip lights, remote control, and any additional accessories thoroughly.
Ensure that the power supply voltage matches the requirements of the LED strip to avoid damage or fire hazards.
Avoid overloading the power supply by connecting too many LED strips to a single unit.
Keep LED strips away from flammable materials and ensure proper ventilation to prevent overheating.
Do not submerge LED strips or remotes in water or expose them to excessive moisture, unless they are specifically designed for outdoor use.
Handle remotes with care and avoid dropping them, as this can damage the internal components.
If you notice any signs of damage to the LED strips, power supply, or remote, discontinue use immediately and seek professional assistance.
Regularly inspect the wiring and connections for any signs of wear or damage.
When replacing batteries in the remote, use the correct type and polarity.
Dispose of old batteries properly according to local regulations.
Never attempt to disassemble or repair LED strips or remotes yourself, as this can be dangerous and void the warranty.
Always supervise children when they are around LED strip lights and remotes to prevent accidents.
Smart LED Strip Lights with App Control
Modern LED strip lights are becoming increasingly sophisticated, with many models now offering app control via smartphone or tablet.
These smart LED strips connect to your home’s Wi-Fi network, allowing you to control them from anywhere with an internet connection.
App control provides a range of advanced features beyond basic on/off and color adjustments.
You can create custom lighting schedules, set timers, and synchronize the lights with music or other media.
Many apps offer pre-set lighting scenes for various moods and occasions, such as “Relax,” “Party,” or “Reading.”
Smart LED strips are often compatible with voice assistants like Alexa and Google Assistant, allowing you to control them with voice commands.
The app interface typically allows for precise color selection, brightness adjustment, and control over various lighting effects.
Some apps also offer energy monitoring features, allowing you to track the power consumption of your LED strips.
With app control, you can easily group multiple LED strips together and control them simultaneously.
Firmware updates can be installed through the app, ensuring that your LED strips always have the latest features and improvements.
App control eliminates the need for a physical remote, reducing clutter and simplifying the user experience.
Some apps allow you to share control of your LED strips with other users, such as family members or roommates.
When choosing smart LED strips, consider the compatibility of the app with your smartphone operating system.
